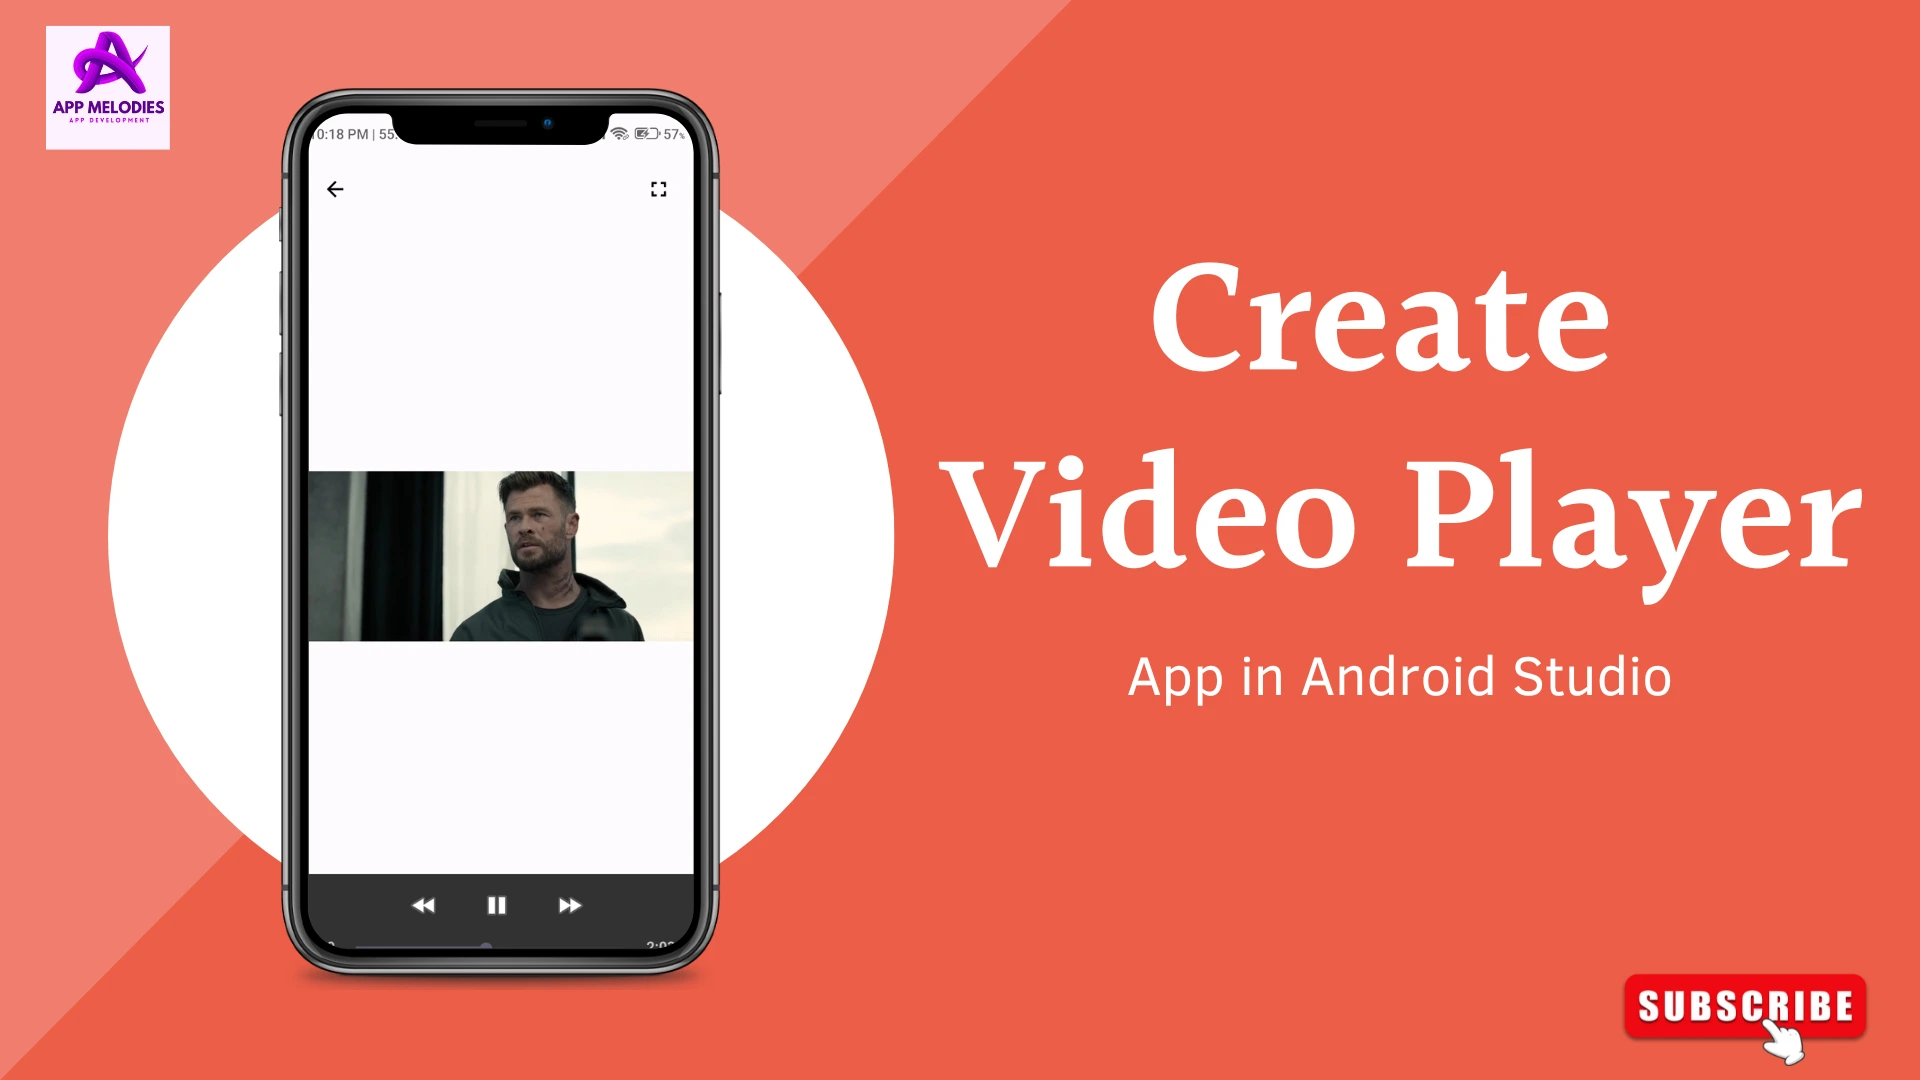
Are you looking to create a simple yet powerful video player app in Android Studio? This step-by-step guide is just what you need! Using Kotlin and XML, we’ll show you how to design and build a fully functional video player app. And to make things even easier, we’re offering free source code to help you get started right away.
Whether you’re a beginner exploring Android development or an experienced developer looking for inspiration, this project will help you enhance your skills and build a practical, feature-rich app.
Why Create a video player app in android studio?
Building a video player app in android studio is a fantastic learning opportunity for Android developers. It allows you to:
- Master UI Design: Use XML to craft a clean and user-friendly layout.
- Work with Multimedia: Learn how to handle video playback using Android’s MediaPlayer API.
- Expand Your Portfolio: Showcase your ability to create functional and visually appealing apps.
By the end of this tutorial, you’ll have a polished app that you can customize further or use as the foundation for more advanced projects.
What You’ll Learn
Here’s what you’ll be able to do with your video player app:
- Play Local Videos: Stream video files stored on a device.
- Interactive Controls: Add play, pause, and seek functionality.
- Intuitive Design: Create a responsive and engaging interface.
Tools You Need
Before we begin, ensure you have:
- Android Studio installed on your computer.
- Kotlin knowledge (even basic understanding is enough).
- A clear idea of XML layouts for UI design.
Step 1: Set Up Your Project for video player app in android studio
- Open Android Studio and create a new project.
- Select the Empty Activity template and click Next.
- Name your project (e.g., VideoPlayerApp), set the language to Kotlin, and choose API 21+ for the minimum SDK.
- Click Finish to create the project.
Step 2: Design the App Layout for video player app in android studio
Add the ExoPlayer library to your project by including the following line in your build.gradle file (app-level):
implementation (“com.google.android.exoplayer:exoplayer:2.18.1”)
In the activity_main.xml file, design your app interface. You’ll need:
- A VideoView to display the video.
- Three Buttons for play, pause, and stop controls.
- Optional: Add a SeekBar to allow users to skip through the video.
Here’s an example main activity layout:
					<LinearLayout
    xmlns:android="http://schemas.android.com/apk/res/android"
    android:layout_width="match_parent"
    android:layout_height="match_parent"
    android:orientation="vertical">


    <TextView
        android:id="@+id/tv"
        android:layout_marginTop="10dp"
        android:layout_width="match_parent"
        android:layout_height="wrap_content"
        android:text="   Folders"
        android:textAlignment="textStart"
        android:textStyle="bold"
        android:textSize="25dp"
        />


    <TextView
        android:id="@+id/emptyView"
        android:layout_width="match_parent"
        android:layout_height="wrap_content"
        android:text="No videos available"
        android:gravity="center"
        android:visibility="gone" />


    <ListView
        android:id="@+id/videoListView"
        android:layout_width="match_parent"
        android:layout_height="match_parent"
        android:divider="@android:color/transparent"
        android:dividerHeight="0dp"
        android:layout_marginTop="15dp" />

</LinearLayout>
Step 3: Add Video Playback Logic for video player app in android studio
In MainActivity.kt, set up your Kotlin code to manage the app’s functionality. Use the VideoView widget for playback and a MediaController to provide video control options.
Here’s a sample implementation:
					package com.example.myapplication

import android.Manifest
import android.content.Intent
import android.os.Bundle
import android.provider.MediaStore
import android.widget.AdapterView
import android.widget.ArrayAdapter
import android.widget.ListView
import android.widget.Toast
import androidx.appcompat.app.AppCompatActivity
import androidx.core.app.ActivityCompat
import androidx.core.content.ContextCompat
import android.content.pm.PackageManager

class MainActivity : AppCompatActivity() {

    private lateinit var listView: ListView
    private val folderMap = mutableMapOf<String, MutableList<Pair<String, String>>>()
    private val folderList = mutableListOf<String>()
    private var currentFolder: String? = null
    private val adapter by lazy {
        ArrayAdapter(this, android.R.layout.simple_list_item_1, folderList)
    }

    override fun onCreate(savedInstanceState: Bundle?) {
        super.onCreate(savedInstanceState)
        setContentView(R.layout.activity_main)

        listView = findViewById(R.id.videoListView)

        if (ContextCompat.checkSelfPermission(this, Manifest.permission.READ_EXTERNAL_STORAGE) == PackageManager.PERMISSION_GRANTED) {
            loadFoldersAndVideos()
        } else {
            ActivityCompat.requestPermissions(this, arrayOf(Manifest.permission.READ_EXTERNAL_STORAGE), 1)
        }

        listView.adapter = adapter

        listView.onItemClickListener = AdapterView.OnItemClickListener { _, _, position, _ ->
            if (currentFolder == null) {
                // Navigate to selected folder
                val folder = folderList[position]
                currentFolder = folder
                folderList.clear()
                folderMap[folder]?.forEach {
                    folderList.add(it.first) // Add video titles
                }
                adapter.notifyDataSetChanged()
            } else {
                // Play selected video
                val videoPath = folderMap[currentFolder]?.get(position)?.second ?: return@OnItemClickListener
                val intent = Intent(this, VideoPlayerActivity::class.java)
                intent.putExtra("videoPath", videoPath)
                startActivity(intent)
            }
        }

        listView.setOnItemLongClickListener { _, _, _, _ ->
            if (currentFolder != null) {
                // Go back to folder view
                loadFoldersAndVideos()
                true
            } else {
                false
            }
        }
    }

    override fun onRequestPermissionsResult(requestCode: Int, permissions: Array<out String>, grantResults: IntArray) {
        super.onRequestPermissionsResult(requestCode, permissions, grantResults)
        if (requestCode == 1 && grantResults.isNotEmpty() && grantResults[0] == PackageManager.PERMISSION_GRANTED) {
            loadFoldersAndVideos()
        } else {
            Toast.makeText(this, "Permission denied!", Toast.LENGTH_SHORT).show()
        }
    }

    private fun loadFoldersAndVideos() {
        folderMap.clear()
        folderList.clear()
        currentFolder = null

        val projection = arrayOf(MediaStore.Video.Media.TITLE, MediaStore.Video.Media.DATA)
        val cursor = contentResolver.query(
            MediaStore.Video.Media.EXTERNAL_CONTENT_URI,
            projection,
            null,
            null,
            null
        )

        cursor?.use {
            val titleIndex = it.getColumnIndexOrThrow(MediaStore.Video.Media.TITLE)
            val dataIndex = it.getColumnIndexOrThrow(MediaStore.Video.Media.DATA)

            while (it.moveToNext()) {
                val title = it.getString(titleIndex)
                val path = it.getString(dataIndex)
                val folderPath = path.substringBeforeLast("/") // Full folder path
                val folderName = folderPath.substringAfterLast("/") // Only folder name

                folderMap.computeIfAbsent(folderName) { mutableListOf() }
                    .add(Pair(title, path))
            }
        }

        folderList.addAll(folderMap.keys) // Only folder names are shown
        adapter.notifyDataSetChanged()
    }

    private var lastBackPressedTime: Long = 0
    private val exitInterval: Long = 2000 // 2 seconds

    override fun onBackPressed() {
        if (currentFolder != null) {
            // If inside a folder, navigate back to the folder list
            currentFolder = null
            folderList.clear()
            folderList.addAll(folderMap.keys) // Reload folder list
            adapter.notifyDataSetChanged()
        } else {
            // Handle "press again to exit"
            val currentTime = System.currentTimeMillis()
            if (currentTime - lastBackPressedTime < exitInterval) {
                super.onBackPressed() // Exit the app
            } else {
                lastBackPressedTime = currentTime
                Toast.makeText(this, "Press again to exit", Toast.LENGTH_SHORT).show()
            }
        }
    }

}
Step 4: Create a New Empty Activity – VideoPlayerActivity for video player app in android studio
To separate concerns and keep your project organized, we’ll create a dedicated activity for the video player functionality. This will make your app scalable and easier to maintain. Here’s how you can create and set up the VideoPlayerActivity for video player app in android studio:
1. Add a New Activity
- In Android Studio, right-click on the
javafolder in your project’s directory. - Navigate to New → Activity → Empty Activity.
- Name the new activity
VideoPlayerActivity. - Click Finish to generate the activity and its associated XML layout file.
2. Update the Layout for VideoPlayerActivity
Design the UI specifically for the video player in the activity_video_player.xml file. A typical layout might include:
- A VideoView for video playback.
- A set of Buttons for playback controls.
- Optional: Add a SeekBar for video navigation.
Here’s a sample layout:
					<FrameLayout
    xmlns:android="http://schemas.android.com/apk/res/android"
    android:layout_width="match_parent"
    android:layout_height="match_parent">


    <VideoView
        android:id="@+id/videoView"
        android:layout_width="match_parent"
        android:layout_height="match_parent"
        android:layout_gravity="center" />


    <ImageButton
        android:id="@+id/fullscreenButton"
        android:layout_width="48dp"
        android:layout_height="48dp"
        android:src="@drawable/baseline_fullscreen_24"
        android:contentDescription="Fullscreen Toggle"
        android:layout_gravity="top|end"
        android:layout_margin="16dp"
        android:background="?android:attr/selectableItemBackground" />


    <ImageButton
        android:id="@+id/backButton"
        android:layout_width="48dp"
        android:layout_height="48dp"
        android:src="@drawable/baseline_arrow_back_24"
        android:contentDescription="Back"
        android:layout_gravity="top|start"
        android:layout_margin="16dp"
        android:background="?android:attr/selectableItemBackground" />
</FrameLayout>
3. Add Functionality to VideoPlayerActivity
In VideoPlayerActivity.kt, implement the logic to handle video playback.
Here’s a complete example:
					package com.example.myapplication

import android.content.pm.ActivityInfo
import android.os.Bundle
import android.os.Handler
import android.os.Looper
import android.view.View
import android.widget.ImageButton
import android.widget.MediaController
import android.widget.VideoView
import android.hardware.Sensor
import android.hardware.SensorEvent
import android.hardware.SensorEventListener
import android.hardware.SensorManager
import android.view.WindowInsets
import android.view.WindowInsetsController
import androidx.appcompat.app.AppCompatActivity

class VideoPlayerActivity : AppCompatActivity() {

    private lateinit var videoView: VideoView
    private lateinit var fullscreenButton: ImageButton
    private lateinit var backButton: ImageButton
    private val handler = Handler(Looper.getMainLooper()) // For delayed tasks
    private var isFullscreen = false
    private var currentPosition = 0 // Save playback position

    // Sensor-related fields
    private lateinit var sensorManager: SensorManager
    private lateinit var sensor: Sensor
    private var isLandscape = false

    // Sensor event listener to handle rotation
    private val sensorEventListener = object : SensorEventListener {
        override fun onSensorChanged(event: SensorEvent?) {
            if (event == null) return

            if (event.sensor.type == Sensor.TYPE_ACCELEROMETER) {
                val x = event.values[0]
                val y = event.values[1]

                // Tolerance to avoid false positives (you can adjust this value as needed)
                val threshold = 3.0f

                if (Math.abs(x) < Math.abs(y)) {
                    // Portrait Mode (phone is held upright)
                    if (y > threshold && !isLandscape) {
                        requestedOrientation = ActivityInfo.SCREEN_ORIENTATION_PORTRAIT
                        isLandscape = false
                    }
                } else {
                    // Landscape Mode (phone is held sideways)
                    if (x > threshold && !isLandscape) {
                        requestedOrientation = ActivityInfo.SCREEN_ORIENTATION_LANDSCAPE
                        isLandscape = true
                    } else if (x < -threshold && !isLandscape) {
                        requestedOrientation = ActivityInfo.SCREEN_ORIENTATION_LANDSCAPE
                        isLandscape = true
                    }
                }
            }
        }

        override fun onAccuracyChanged(sensor: Sensor?, accuracy: Int) {}
    }

    override fun onCreate(savedInstanceState: Bundle?) {
        super.onCreate(savedInstanceState)
        setContentView(R.layout.activity_video_player)

        videoView = findViewById(R.id.videoView)
        fullscreenButton = findViewById(R.id.fullscreenButton)
        backButton = findViewById(R.id.backButton)

        // Set up MediaController
        val mediaController = MediaController(this)
        mediaController.setAnchorView(videoView)
        videoView.setMediaController(mediaController)

        val videoPath = intent.getStringExtra("videoPath") ?: return
        videoView.setVideoPath(videoPath)

        // Initialize sensor manager and sensor
        sensorManager = getSystemService(SENSOR_SERVICE) as SensorManager
        sensor = sensorManager.getDefaultSensor(Sensor.TYPE_ACCELEROMETER)!!

        // Set up video view listeners
        videoView.setOnPreparedListener {
            if (currentPosition > 0) {
                videoView.seekTo(currentPosition) // Resume from saved position
            }
            videoView.start()
            resetButtonHideTimer() // Start auto-hide timer
        }

        videoView.setOnTouchListener { _, _ ->
            toggleButtonVisibility(true) // Show buttons on interaction
            resetButtonHideTimer() // Restart hide timer
            false
        }

        fullscreenButton.setOnClickListener {
            toggleFullscreen()
            resetButtonHideTimer() // Restart hide timer
        }

        backButton.setOnClickListener {
            onBackPressed()
        }
    }

    override fun onResume() {
        super.onResume()
        sensorManager.registerListener(sensorEventListener, sensor, SensorManager.SENSOR_DELAY_UI)
        videoView.seekTo(currentPosition) // Resume from saved position
        videoView.start()
    }

    override fun onPause() {
        super.onPause()
        sensorManager.unregisterListener(sensorEventListener)
        currentPosition = videoView.currentPosition // Save position
        videoView.pause() // Pause playback
    }

    private fun resetButtonHideTimer() {
        handler.removeCallbacksAndMessages(null) // Clear pending hide tasks
        handler.postDelayed({ toggleButtonVisibility(false) }, 3000) // Hide after 3 seconds
    }

    private fun toggleButtonVisibility(visible: Boolean) {
        val visibility = if (visible) View.VISIBLE else View.GONE
        fullscreenButton.visibility = visibility
        backButton.visibility = visibility
    }

    private fun toggleFullscreen() {
        currentPosition = videoView.currentPosition // Save current position
        if (isFullscreen) {
            requestedOrientation = ActivityInfo.SCREEN_ORIENTATION_PORTRAIT
            disableFullscreenMode()
        } else {
            requestedOrientation = ActivityInfo.SCREEN_ORIENTATION_LANDSCAPE
            enableFullscreenMode()
        }
        isFullscreen = !isFullscreen
        videoView.seekTo(currentPosition) // Restore playback position
        videoView.start() // Resume playback
    }

    private fun enableFullscreenMode() {
        if (android.os.Build.VERSION.SDK_INT >= android.os.Build.VERSION_CODES.R) {
            window.insetsController?.apply {
                hide(WindowInsets.Type.statusBars() or WindowInsets.Type.navigationBars())
                systemBarsBehavior = WindowInsetsController.BEHAVIOR_SHOW_TRANSIENT_BARS_BY_SWIPE
            }
        } else {
            window.decorView.systemUiVisibility = (
                    View.SYSTEM_UI_FLAG_IMMERSIVE_STICKY
                            or View.SYSTEM_UI_FLAG_FULLSCREEN
                            or View.SYSTEM_UI_FLAG_HIDE_NAVIGATION
                            or View.SYSTEM_UI_FLAG_LAYOUT_FULLSCREEN
                            or View.SYSTEM_UI_FLAG_LAYOUT_HIDE_NAVIGATION
                    )
        }
    }

    private fun disableFullscreenMode() {
        if (android.os.Build.VERSION.SDK_INT >= android.os.Build.VERSION_CODES.R) {
            window.insetsController?.show(WindowInsets.Type.statusBars() or WindowInsets.Type.navigationBars())
        } else {
            window.decorView.systemUiVisibility = (
                    View.SYSTEM_UI_FLAG_LAYOUT_STABLE
                            or View.SYSTEM_UI_FLAG_LAYOUT_FULLSCREEN
                    )
        }
    }

    override fun onBackPressed() {
        disableFullscreenMode()
        super.onBackPressed()
    }
}
Step 5: Replace Package Name with Your Application’s Package Name
To ensure the app works seamlessly, you must replace the placeholder package name (com.example.videoplayer) with your actual application’s package name in both activities (MainActivity and VideoPlayerActivity) and any related files.
How to Update the Package Name
1. Identify Your Application’s Package Name
- In Android Studio, open the
AndroidManifest.xmlfile (found underapp/src/main). - Locate the
packageattribute at the top of the file. For example:Here,<manifest xmlns:android="http://schemas.android.com/apk/res/android" package="com.yourcustomname.myapp">com.yourcustomname.myappis your app’s package name.
2. Replace Package Name in Kotlin Files
- Open both
MainActivity.ktandVideoPlayerActivity.kt. - Replace
com.example.videoplayerat the top of each file with your app’s package name.
For example
package com.yourcustomname.myapp Step 6: Update the Manifest File
The Android manifest file is crucial for configuring your app’s permissions, activities, and general behavior. Follow these steps to update the AndroidManifest.xml file with the provided configuration.
Updated Manifest File
Replace the contents of your current AndroidManifest.xml with the following code. This includes:
- Permissions:
- Access to the internet.
- Permission to read external storage.
- Handling media access for Android 13 and above.
- Activity Declarations:
- Configuration for
MainActivityas the launcher activity. - Specific settings for
VideoPlayerActivity.
- Configuration for
					<?xml version="1.0" encoding="utf-8"?>
<manifest xmlns:android="http://schemas.android.com/apk/res/android"
    xmlns:tools="http://schemas.android.com/tools">

    <uses-permission android:name="android.permission.INTERNET" />
    <uses-permission android:name="android.permission.READ_EXTERNAL_STORAGE" />
    <uses-permission android:name="android.permission.READ_MEDIA_VIDEO" tools:targetApi="33" />

    <application
        android:allowBackup="true"
        android:dataExtractionRules="@xml/data_extraction_rules"
        android:fullBackupContent="@xml/backup_rules"
        android:icon="@mipmap/ic_launcher"
        android:label="@string/app_name"
        android:roundIcon="@mipmap/ic_launcher_round"
        android:supportsRtl="true"
        android:theme="@style/Theme.MyApplication"
        tools:targetApi="31">

        <activity
            android:name=".VideoPlayerActivity"
            android:configChanges="orientation|screenSize|keyboardHidden"
            android:screenOrientation="sensor"
            android:exported="false" />


        <activity
            android:name=".MainActivity"
            android:exported="true">
            <intent-filter>
                <action android:name="android.intent.action.MAIN" />
                <category android:name="android.intent.category.LAUNCHER" />
            </intent-filter>
        </activity>

    </application>
</manifest>
Step 7: Test Your video player app in android studio
Run the video player app in android studio on your Android device or emulator. Make sure to include a sample video file in the res/raw folder of your project for testing. Check that the play, pause, and stop controls work as expected.
Final Thoughts
Congratulations on building your video player app in android studio! This project is a fantastic way to deepen your understanding of Android development, and you can now customize it further by adding features like playlists, streaming support, or a modern UI design.
If this guide helped you, share it with fellow developers and let us know your thoughts in the comments below. Happy coding!


