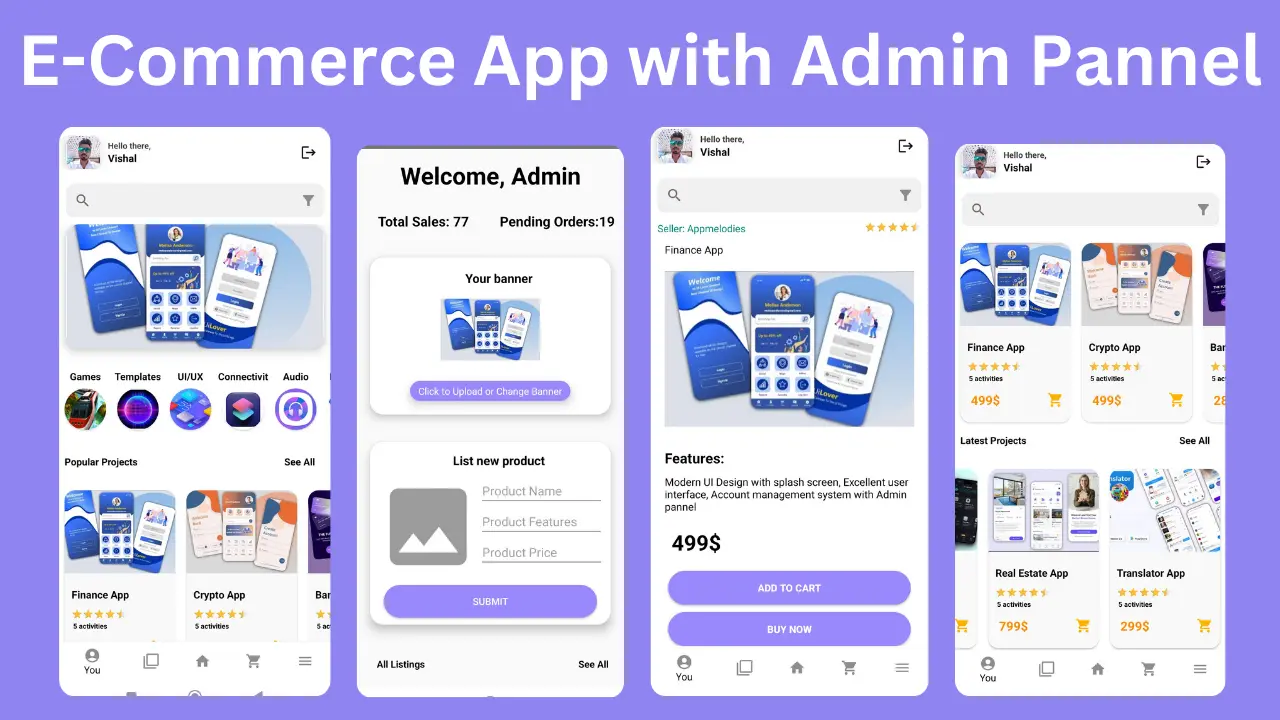
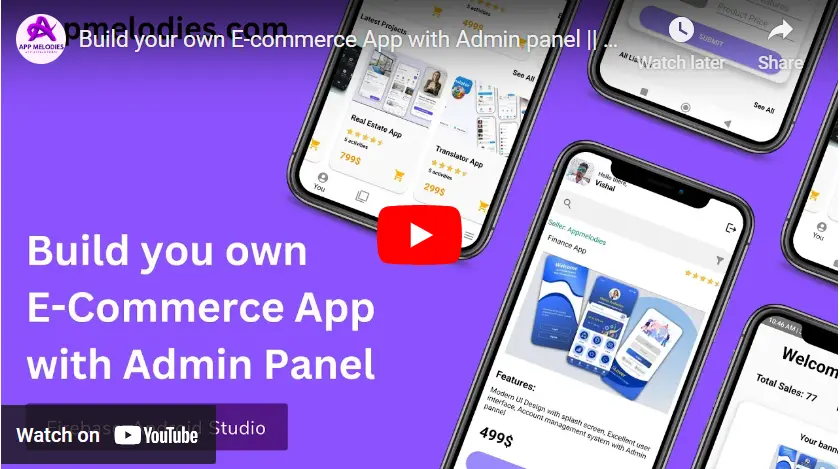
Welcome to our comprehensive guide on creating your very own E-commerce App with Admin Panel using Android Studio, Kotlin, and Firebase. In this tutorial, we will walk you through the entire process, providing free source code and an easy step-by-step approach to empower you in building a robust E-commerce application.
Step 1: Creating a New Project in Android Studio for your E-commerce App with Admin Panel
- Open Android Studio and click on “Start a new Android Studio project.”
- Choose an empty views activity as a template, and enter the project name, package name, and other settings as per your requirements.
- Click “Finish” to create the project.
Step 2: Setup Firebase to Your E-commerce App with Admin Panel
- Visit the Firebase Console and log in with your Google account.
- Click on “Add Project” and follow the prompts to create a new Firebase project.
- Once the project is created, Go to android studio and click on tools option at top bar then click firebase. and add firebase authentication, storage, and real time database.
- Now open project in firebase website and enable firebase authentication, storage, and real time database to it.
Step 3: Adding Dependencies from below code. and change theme in themes.xml file
					dependencies {

    implementation 'androidx.core:core-ktx:1.8.0'
    implementation 'androidx.appcompat:appcompat:1.6.1'
    implementation 'com.google.android.material:material:1.5.0'
    implementation 'androidx.constraintlayout:constraintlayout:2.1.4'
    implementation 'com.google.firebase:firebase-auth:22.3.1'
    implementation 'com.google.firebase:firebase-database:20.3.0'
    implementation 'com.google.firebase:firebase-storage:20.3.0'
    testImplementation 'junit:junit:4.13.2'
    androidTestImplementation 'androidx.test.ext:junit:1.1.5'
    androidTestImplementation 'androidx.test.espresso:espresso-core:3.5.1'


    implementation 'com.soundcloud.android:android-crop:1.0.1@aar'
    implementation 'com.github.bumptech.glide:glide:4.12.0'
    implementation 'androidx.cardview:cardview:1.0.0'
    implementation 'com.squareup.picasso:picasso:2.71828'
    implementation 'com.facebook.shimmer:shimmer:0.5.0'
    implementation 'com.google.firebase:firebase-firestore:24.10.0'

}
"Theme.AppCompat.Light.NoActionBar"
Step 4: Create Menu folder and add xml file there.
- Right-click on the
resfolder in the project structure. - Select
New->Android Resource Directoryand choosemenuas the resource type. - Now download bottom_navigation_menu.xml file download link is provided at bottom of this post. and paste it into menu folder.
Step 5: Download and add Layout Files into res/layout folder.
- After creating the menu folder, proceed to download the layout files for your E-commerce app. Download link is provided at the bottom of this post.
- These layout files contain the visual structure and design of different screens within your application, such as product details, cart, and order history.
- Place the downloaded layout files into the
res/layoutfolder in your Android Studio project to ensure proper organization.
Step 6: Download and add Drawable Files into res/drawable folder.
- The drawable files include images and icons that contribute to the visual elements of your E-commerce App with Admin Panel.
- Download the provided drawable files. Download link is provided at bottom of this post. and insert them into the
res/drawablefolder in your project. - These images are essential for creating an engaging and visually appealing user interface.
Step 7: Download and add Kotlin Files into main_activity.kt folder.
- Kotlin files contain the logic and functionality behind the different screens and features of your E-commerce App with Admin Panel.
- Download the Kotlin files. Download link is provided at bottom of this post. and place them into the appropriate folders, such as
main_activity.kt. - These files will define the behavior of activities like login, registration, and the main shopping experience.
Step 8: Updating Manifest File
- The AndroidManifest.xml file is crucial for defining various aspects of your E-commerce App with Admin Panel, including activities, permissions, and intent filters.
- Follow the provided code snippet to update the manifest file with necessary declarations for activities like LoginActivity, CropImageActivity, Admin_Panel, RegisterActivity, and MainActivity.
- These declarations ensure that your app’s components are properly registered and accessible.
					        <activity
            android:name=".LoginActivity"
            android:exported="false" />
        <activity
            android:name="com.soundcloud.android.crop.CropImageActivity"
            android:theme="@style/Base.Theme.AppCompat" />
        <activity
            android:name=".Admin_Panel"
            android:exported="false" />
        <activity
            android:name=".RegisterActivity"
            android:exported="false" />
        <activity
            android:name=".MainActivity"
            android:exported="true">
            <intent-filter>
                <action android:name="android.intent.action.MAIN" />

                <category android:name="android.intent.category.LAUNCHER" />
            </intent-filter>
        </activity>
Congratulations! You have successfully completed the steps to create an E-commerce App with Admin Panel using Android Studio, Kotlin, and Firebase. By following this comprehensive guide, you’ve learned how to set up your project, integrate Firebase services, add dependencies, and organize resources. Additionally, the inclusion of layout, drawable, and Kotlin files has equipped your app with a visually appealing and functional design. Keep exploring and enhancing your app to meet the specific needs of your E-commerce venture. Happy coding!
You may also like these posts.





Hello , sir
I an getting an error in Crop Start Activity in mainActivity.kt here crop.of is giving as Unresolved reference . I asked Chat GPT it suggest me to add ucrop dependency But still i am not able to resolve it .so please help me out