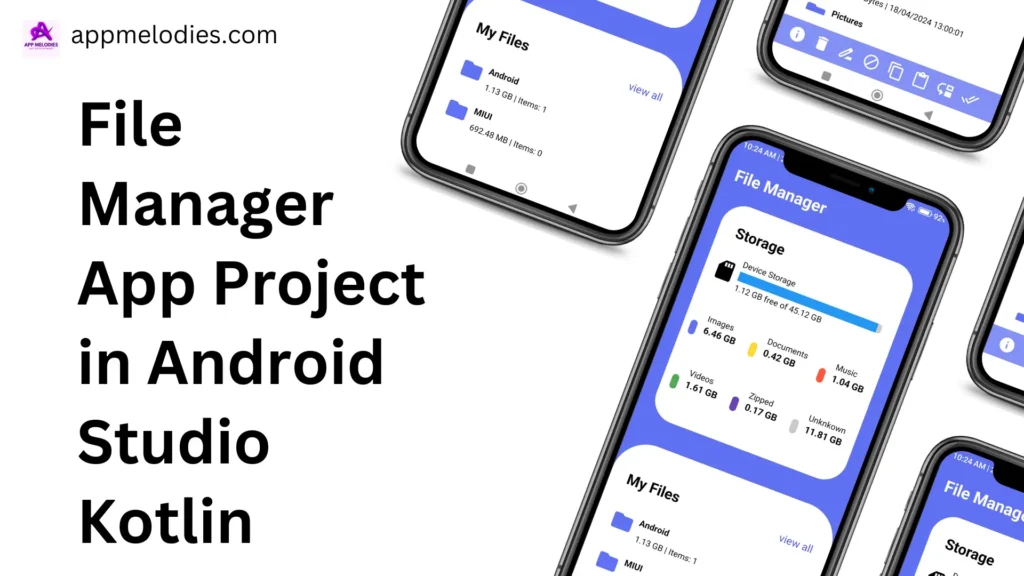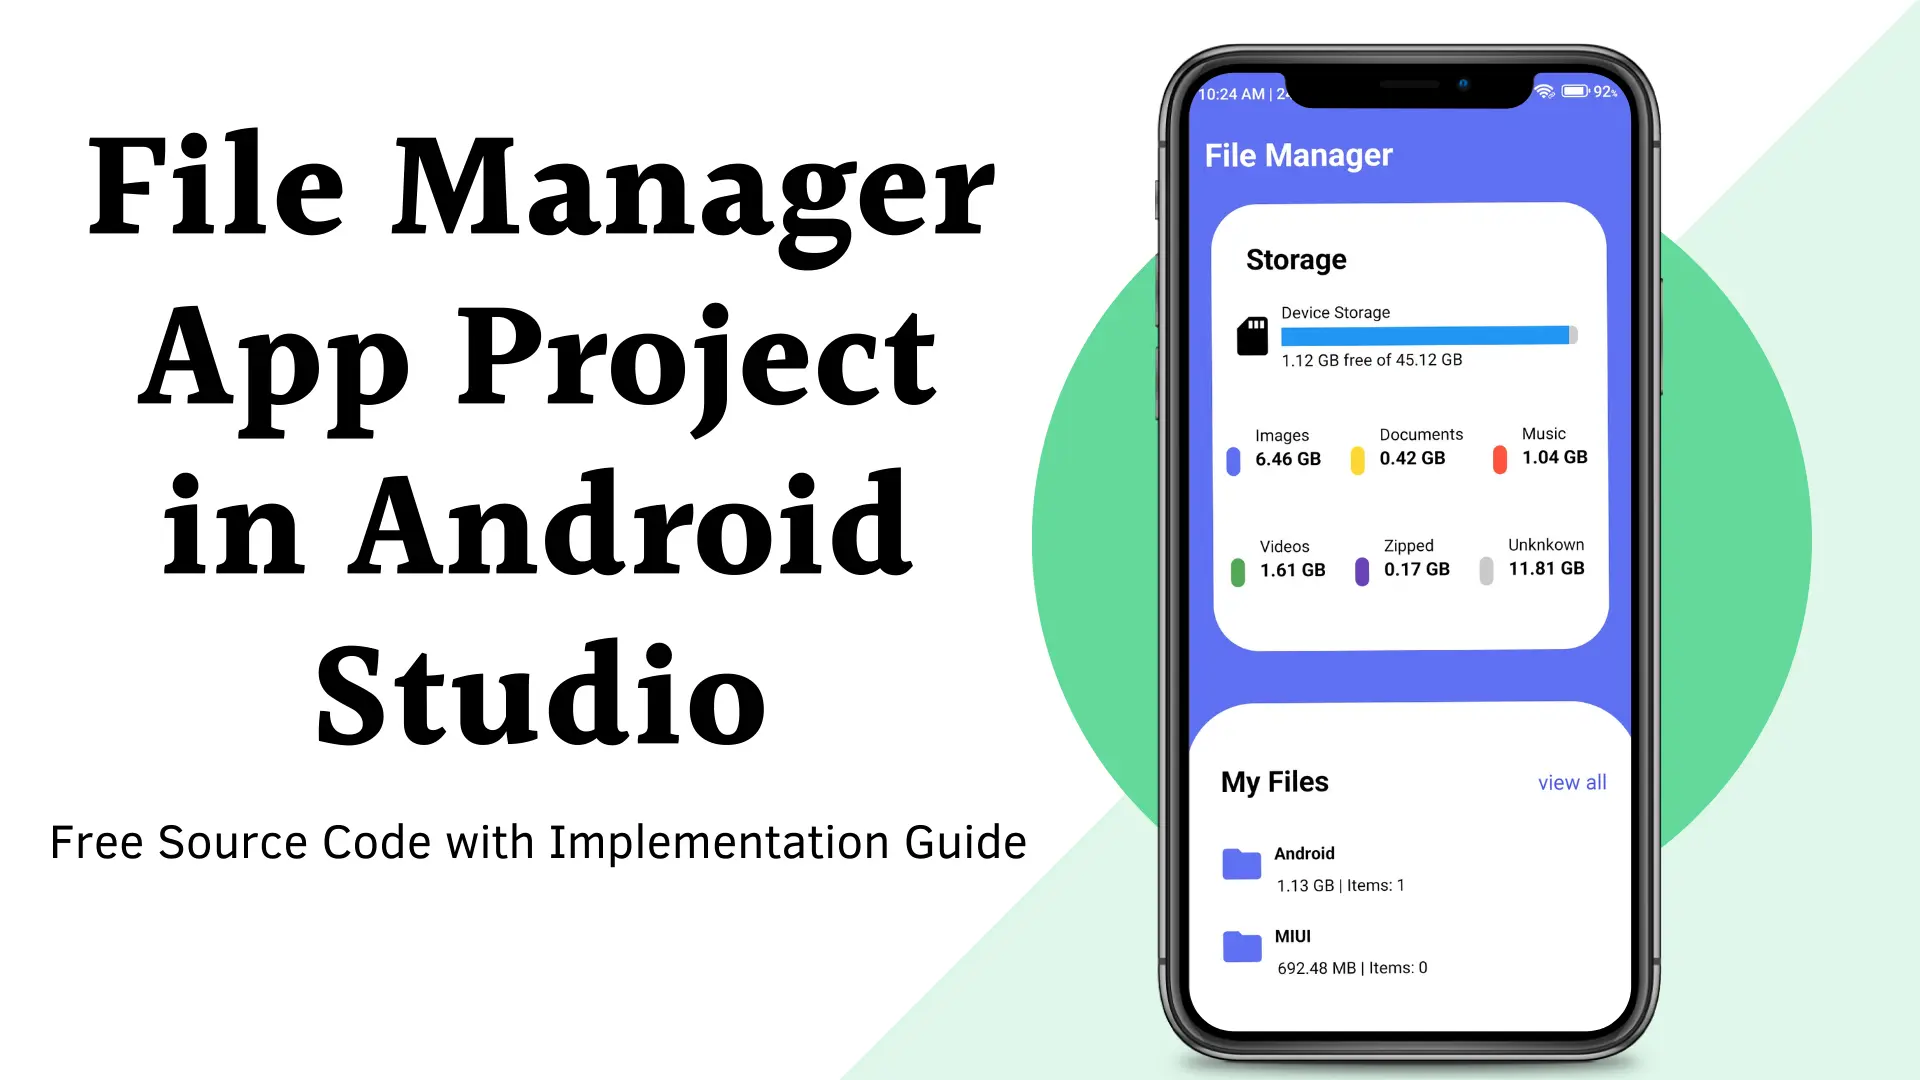
Welcome to AppMelodies.com, your go-to destination for insightful guides on Android app development! Today, we’re delving deep into the creation of an outstanding File Manager app in Android Studio. A File Manager app is indispensable for efficiently organizing and accessing files on mobile devices. Leveraging the power of Kotlin and Android Studio, we’re poised to craft a unique and functional solution. Whether you’re a seasoned developer seeking to expand your repertoire or a newcomer eager to venture into app development, our comprehensive, step-by-step guide, coupled with complimentary source code, promises to equip you with the expertise to manifest your File Manager app aspirations. Let’s embark on this exciting journey together and bring your vision to fruition!
Step 1: Begin by creating a new project for your file manager app in Android Studio
- Open Android Studio.
- Select “Start a new Android Studio project.”
- Choose “Empty Activity” as the project template.
- This gives you a clean slate to start building your file manager app from scratch.
- Select Kotlin as the programming language for modern features and concise syntax.
Step 2: Add code in gradle.properties file.
- Navigate to the “build.properties” file.
- Add the following code: “android.defaults.buildfeatures.buildconfig=true”.
- After adding the code to the build.properties file, remember to sync the project.
Step 3: Adding Necessary Dependencies to Our File Manager App in Android Studio
Add the following dependencies to your project:
					    implementation 'com.github.bumptech.glide:glide:4.16.0'
    implementation("org.jetbrains.kotlinx:kotlinx-coroutines-core:1.6.0")
    implementation("org.jetbrains.kotlinx:kotlinx-coroutines-android:1.6.0")
2. Click ‘Sync’ to sync your project with the newly added dependencies.
Step 4: Enhancing the User Interface with a Cleaner Theme
1. Navigate to the theme file:
- In your Android Studio project, go to the ‘res’ folder.
- Open the ‘values’ directory.
- Locate and open the ‘themes.xml’ file.
2. Modify the parent theme:
- In the ‘themes.xml’ file, find the declaration for the parent theme, typically set to ‘Theme.AppCompat.Light.DarkActionBar’ or similar.
- To create a sleek user interface, switch to the ‘Theme.AppCompat.NoActionBar’ theme.
Step 5: Creating file_paths.xml in the res/xml Folder
- Navigate to the ‘res/xml’ folder in Android Studio
- Right-click on the ‘xml’ folder, select “New” -> “XML Resource File.”
- Name the file “file_paths” and press Enter.
- Double-click the newly created file to open it.
- Add the following code:
					<paths xmlns:android="http://schemas.android.com/apk/res/android">
    <external-path
        name="external_files"
        path="." />
</paths>
Step 6: Adding Permissions in the Manifest File.
- Open your AndroidManifest.xml file.
- Add the necessary permissions inside the
<manifest>tag.
					    <uses-permission android:name="android.permission.READ_EXTERNAL_STORAGE"/>
    <uses-permission android:name="android.permission.WRITE_EXTERNAL_STORAGE"/>
    <uses-permission android:name="android.permission.MANAGE_EXTERNAL_STORAGE" />
Step 7: Download and Extract the Zip File
- Download the provided zip file to your computer.
- Locate the downloaded zip file and extract its contents.
- Save the extracted files in a convenient location on your computer.
Step 8: Adding Drawable Files and Graphics for Your File Manager App in Android Studio
- Open the extracted folder containing the drawable resources for your file manager app.
- Navigate to the ‘drawable’ folder within the extracted folder.
- Select and copy all XML files from the ‘drawable’ folder.
- Paste the copied XML files into the ‘drawable’ folder of your Android Studio project.
These customized drawables will enhance the visual appeal of your file manager app, providing a personalized touch to its interface.
Step 9: Adding Layout Files and Graphics for Your File Manager App in Android Studio
- Open the extracted folder containing the layout resources for your file manager app.2.
- Navigate to the ‘layout’ folder within the extracted folder.
- Select and copy all XML files from the ‘layout’ folder.
- Paste the copied XML files into the ‘layout’ folder of your Android Studio project.
Step 10: Adding Kotlin Classes and Adapter Files for Your File Manager App in Android Studio
- Open the extracted folder containing the Kotlin classes and adapter files for your file manager app.
- Navigate to the “kotlin” folder within the extracted directory.
- Select the Kotlin class and adapter files you want to add to your project.
- Copy these files.
- Paste the copied files into the corresponding directories of your Android Studio project.
- Now, rename the package names in all three Kotlin files with your actual project package name.
These Kotlin classes and adapter files will provide the functionality and structure needed for your file manager app, enhancing its capabilities and user experience.
Step 11: Running the App
- In Android Studio, ensure your project is loaded and synced properly. If you are getting any error like “BuildConfig” then rebuild gradle.
- Connect your Android device to your computer using a USB cable, or set up an emulator if you prefer.
- Select your device or emulator from the list of available devices in Android Studio.
- Click on the “Run” button (usually a green triangle icon) in the toolbar.
- Android Studio will compile your app and install it on the selected device or emulator.
- Once installed, the app will launch automatically, and you can interact with it to test its functionality.
Congratulations on completing the steps to create your file manager app in Android Studio! By following these instructions, you’ve learned how to set up your project, customize the user interface, add necessary files and dependencies, and run the app for testing. Now, you can further enhance and refine your app according to your preferences and requirements. Keep exploring and experimenting with Android development to build even more exciting projects in the future!
You may also like: Music Player App in Android Studio


app is running but ui is not visible and interactive pls help