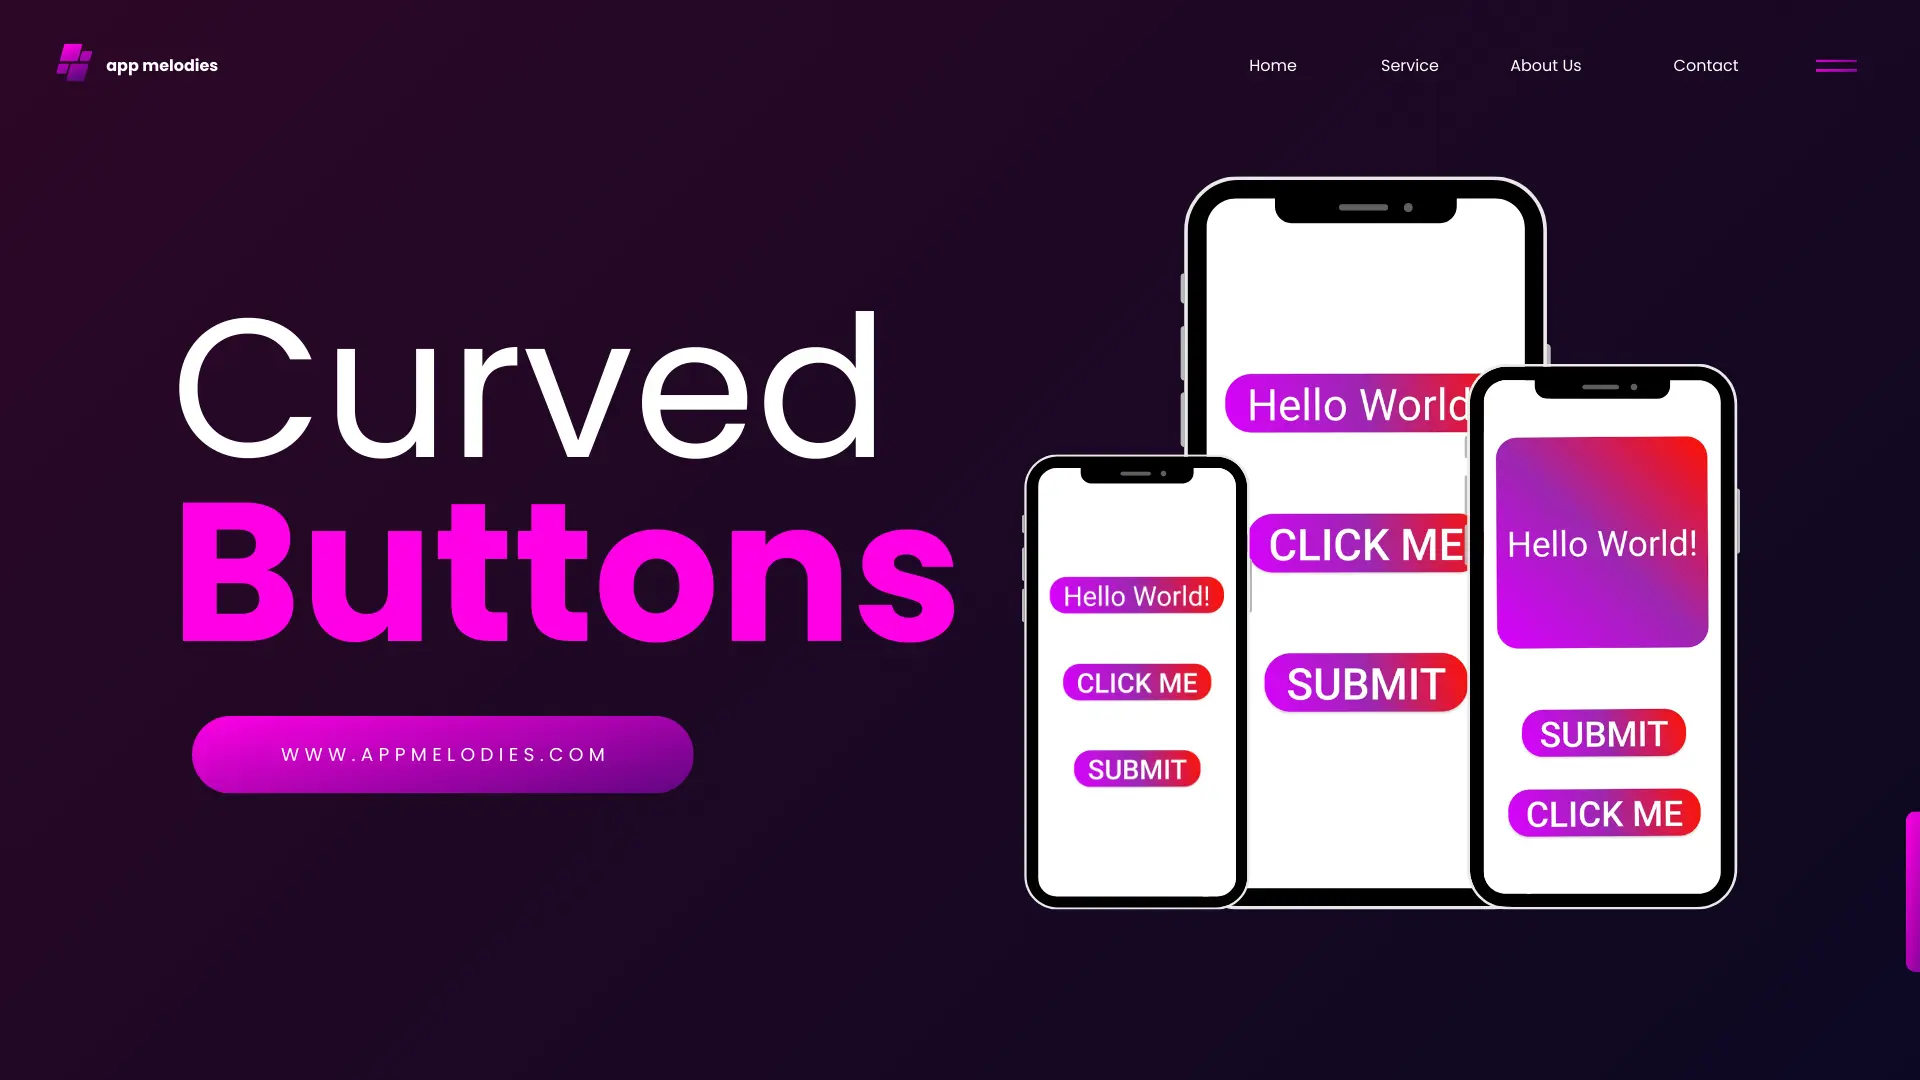
Create Curve button in Android Studio easy guide.
In the ever-evolving world of Android app development, creating aesthetically pleasing user interfaces is crucial. One design element that can significantly enhance the visual appeal of your app is a curved button. If you’re looking to implement a curve button in Android Studio, you’re in the right place! In this comprehensive guide, we’ll walk you through the process of curving buttons in Android Studio, combining simplicity with elegance.

“Click here to watch the step-by-step tutorial”
Why curve button in Android Studio Matter:
Before we delve into the implementation details, let’s briefly discuss why curved buttons are a popular choice among developers. Curved buttons not only soften the overall look of your app but also provide a more modern and user-friendly touch. They seamlessly integrate with various design styles, making your app visually engaging and enhancing the user experience.
Certainly! The provided steps guide you through creating a curved button in Android Studio.
Step 1: Set Up Your Android Studio Project
Ensure that Android Studio is installed. Create a new project or open an existing one.
Step 2: Create a Custom Background Drawable
- Create a drawable resource file (e.g., rounded_button_background.xml) in the res/drawable directory.
- Define the shape with rounded corners and set your desired background color:
<?xml version="1.0" encoding="utf-8"?>
<shape xmlns:android="http://schemas.android.com/apk/res/android">
    <corners
        android:topLeftRadius="30dp"
        android:topRightRadius="30dp"
        android:bottomLeftRadius="30dp"
        android:bottomRightRadius="30dp" />

    <!-- Use gradient instead of solid for the background -->
    <gradient
        android:startColor="#D900FF"
        android:centerColor="#9C27B0"
    android:endColor="#FF1100"
        android:angle="45"/>          <!-- Gradient angle (you can adjust this as needed) -->
</shape>
Adjust the color to match your app’s design.
Step 3: Implementing the Curved Button in Android Studio
In your layout XML file, Apply the custom background drawable.
<Button
    android:id="@+id/button"
    android:layout_width="wrap_content"
    android:layout_height="wrap_content"
    android:background="@drawable/rounded_button_background"
    android:text="  submit  "
    android:textSize="50sp">
</Button>
This code sets up a Button with a custom background drawable, creating the appearance of a curved button. Adjust the text, size, and other attributes according to your design preferences.
Conclusion:
By following these straightforward steps, you can effortlessly incorporate the beautifully curve button in android studio project. This not only enhances the visual appeal of your app but also contributes to a more user-friendly and modern design. Experiment with colors, sizes, and other attributes to achieve the perfect look for your application. Elevate your user interface and create a positive impression on your app’s users with this simple yet effective design enhancement.
FAQs: Curving Buttons in Android Studio
Q1: Why would I want to curve buttons in my Android app?
A1: Curved buttons can enhance the visual appeal of your app, providing a modern and aesthetically pleasing user interface. They can contribute to a more engaging user experience.
Q2: Is curving buttons a standard practice in Android app development?
A2: While not mandatory, curving buttons has become a popular design choice. It adds a touch of elegance and uniqueness to your app’s interface.
Q3: Can I implement curved buttons without using Android Studio?
A3: Android Studio is a widely used and efficient IDE for Android development. While other tools exist, our guide focuses on achieving this effect specifically within Android Studio.
Q4: Are curved buttons compatible with all Android devices?
A4: Yes, when implemented properly, curved buttons should be compatible with various Android devices. It’s essential to test your app on different screen sizes and resolutions to ensure a consistent look.
Q5: Does curving buttons impact app performance?
A5: When done correctly, the impact on performance is negligible. However, it’s recommended to optimize your app’s resources and test its performance on different devices.
Q6: Can I customize the degree of curvature for my buttons?
A6: Yes, you can customize the curvature by adjusting the radius values in your XML shape file. Experimenting with different values allows you to achieve the desired level of curvature.
Q7: Is there a recommended color scheme for curved buttons?
A7: The color scheme depends on your app’s overall design. Ensure that the button colors harmonize with your app’s theme, maintaining a visually cohesive user interface.
Q8: Will curving buttons affect the responsiveness of touch interactions?
A8: When properly implemented, curving buttons should not negatively impact touch interactions. However, thorough testing is recommended to ensure responsiveness on different devices.
Q9: Can I apply the same principles to other UI elements besides buttons?
A9: While our guide focuses on buttons, similar principles can be applied to other UI elements. Adjustments may be needed based on the specific element and its role in your app’s interface.
Q10: Where can I find additional resources for UI design in Android Studio?
A10: Numerous online resources, forums, and documentation exist for UI design in Android Studio. Explore platforms like Stack Overflow, official Android developer documentation, and design blogs for further insights and tips.
You may also like – math quiz game tutorial | snake game source code


